
Kwiga is a distance learning platform that offers its tools and services to teachers, coaches, and producers.
The quarantine measures of recent years have greatly encouraged the development of online education. Another Ukrainian company, Kwiga, is trying to jump on this accelerating train. Its LMS cannot be called popular enough, as it has been in existence for less than two years. It seems that its developers were in a hurry to fill the niche that GetCource platform had vacated. And at the same time, they repeated most of its shortcomings. We have created this review to find out what Kwiga LMS consists of and what it offers to customers.
Kwiga: overview, features, pros, cons and reviews
What is Kwiga
Its positioning on the website claims that it was created for schools and universities.
But then the numbers that indicate the achievements of its clients suggest that it is still intended for experts who sell their knowledge and for owners of online schools of any kind. The feeling that the platform is rather “crude” is confirmed by two points: the year of its launch is February 2022 and a lot of errors in the texts throughout the site. Let’s move on to the Kwiga LMS itself to see what it consists of and how it works.
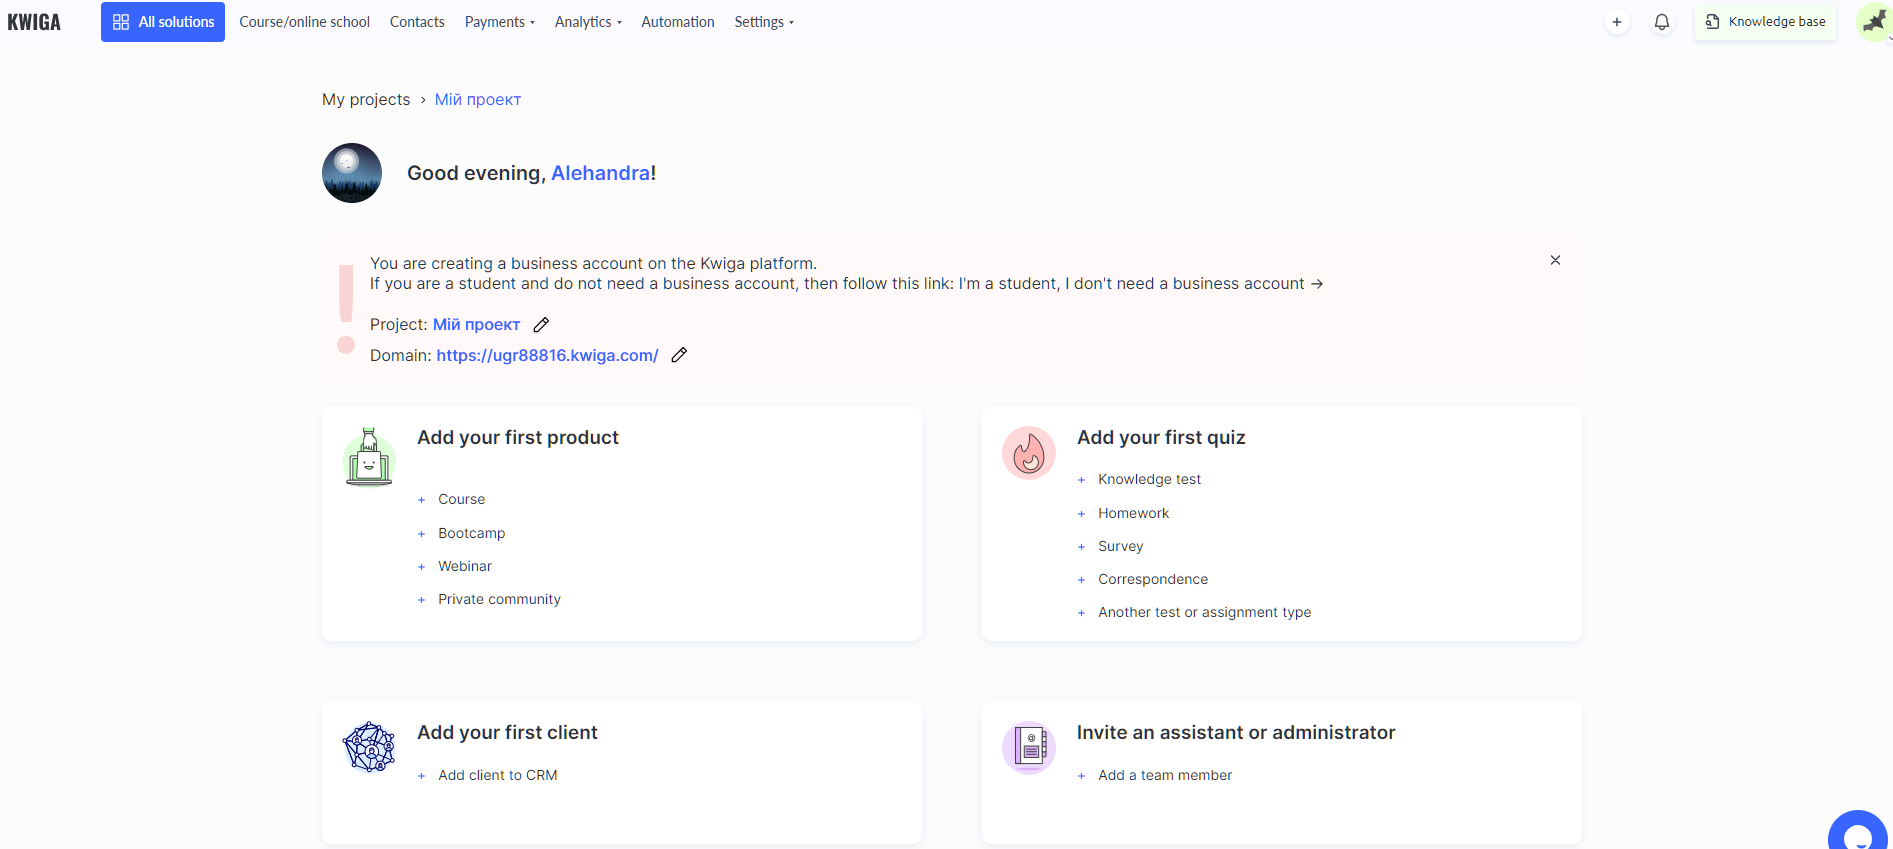
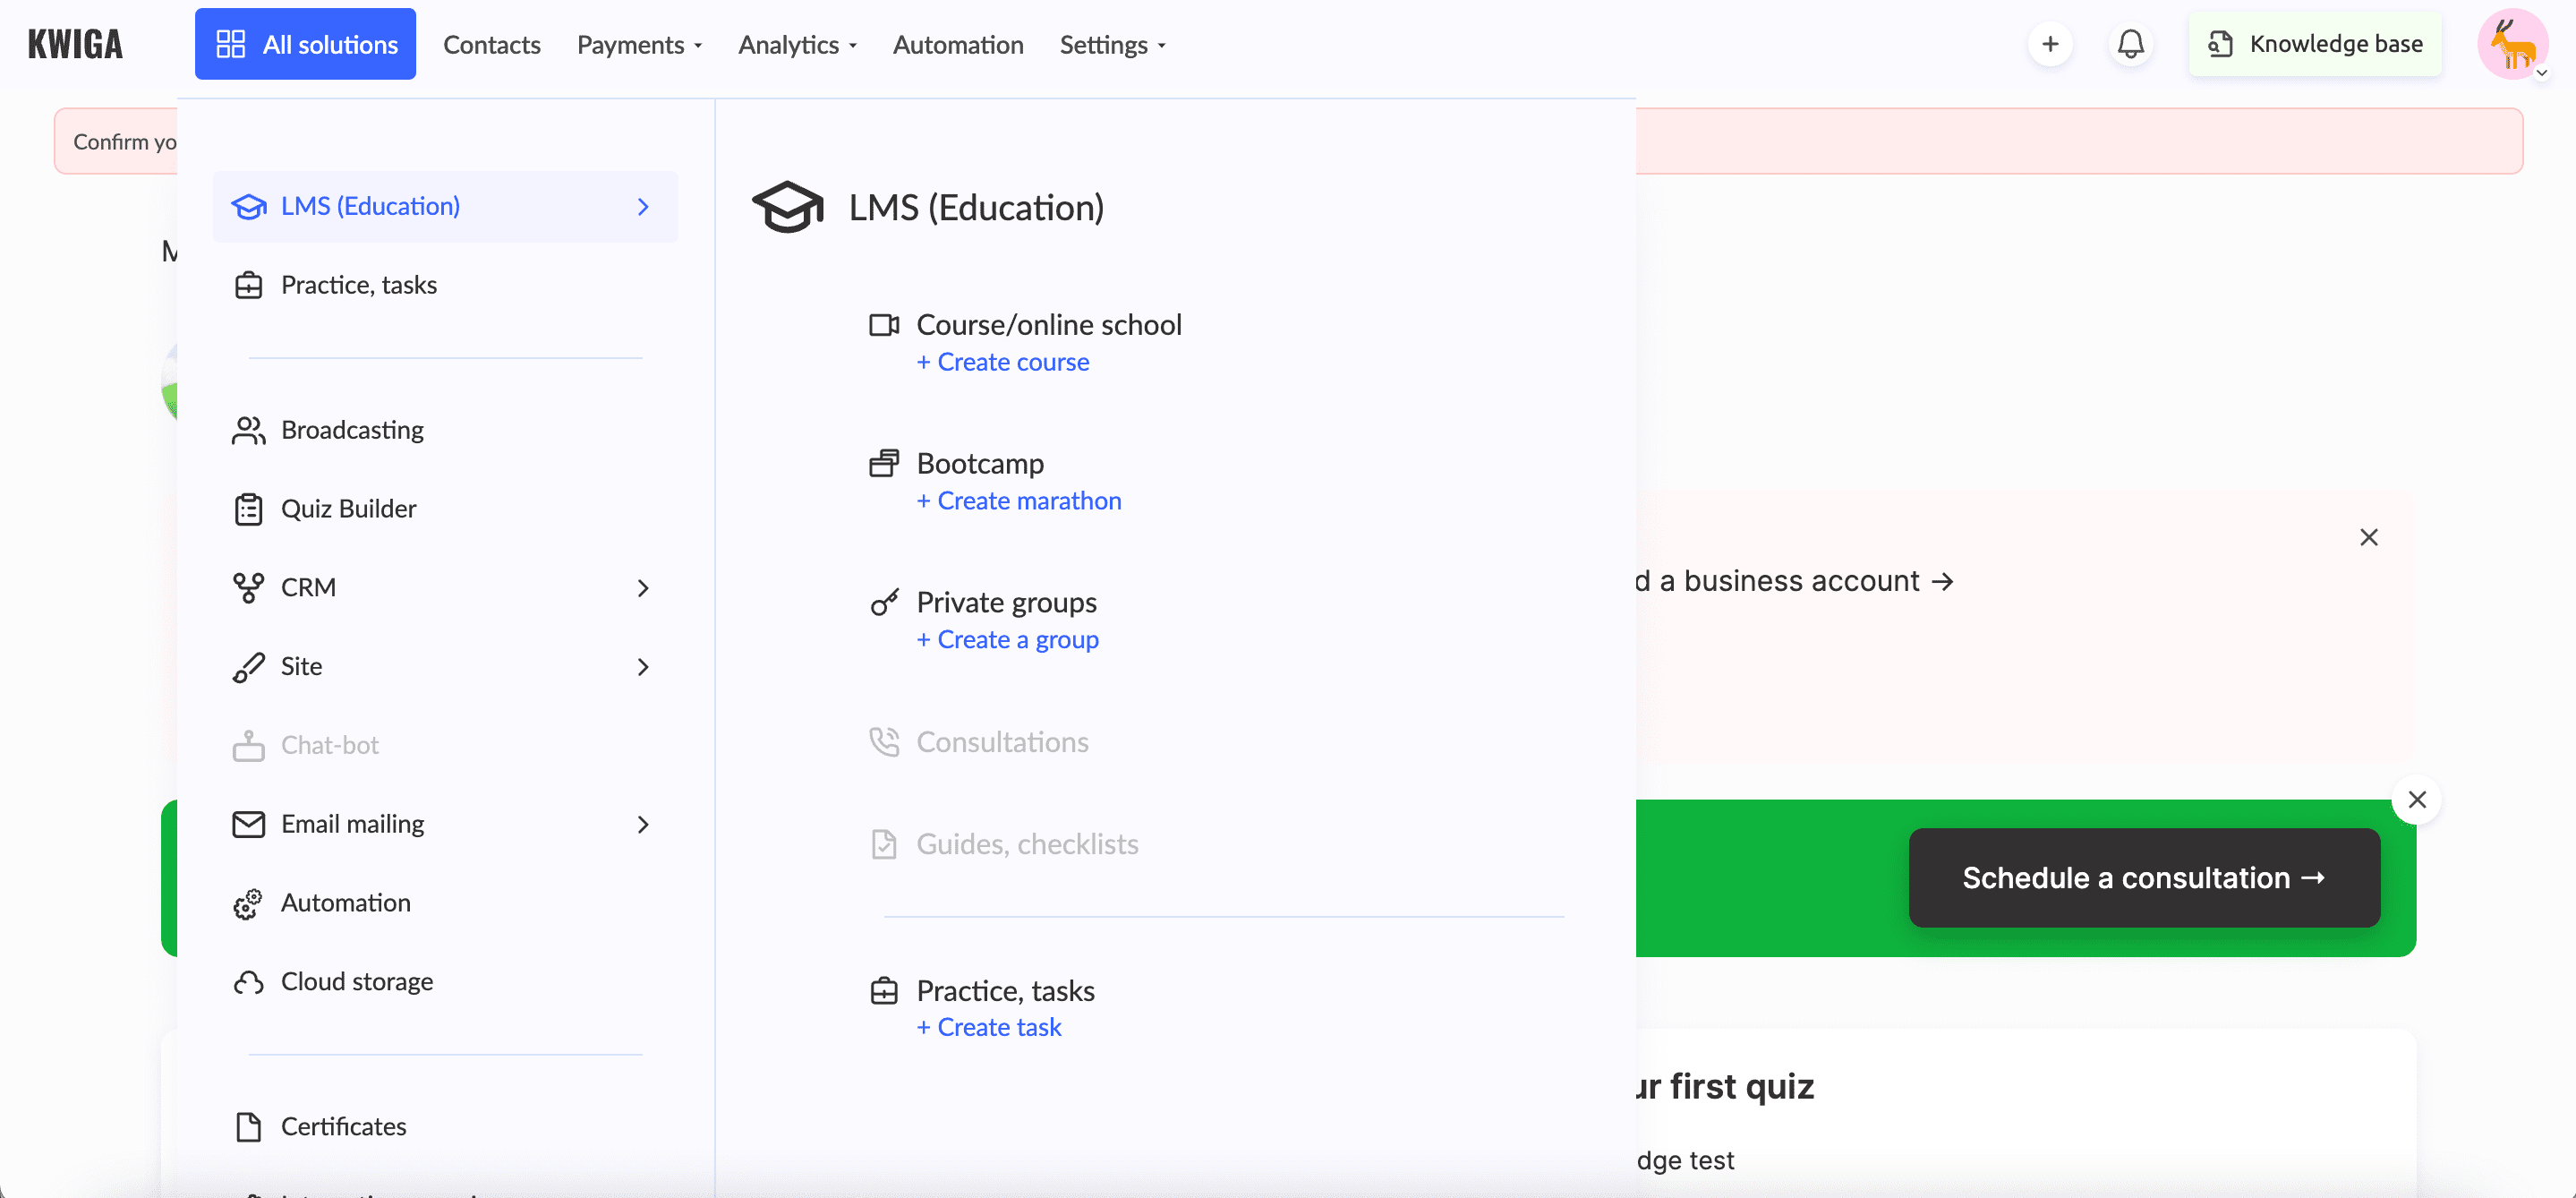
Registering on the platform immediately takes users in different directions: content creators and teachers are directed to the LMS, while students are invited to register on another page. Even during registration, the platform offers to name the project and issues a domain for it. Therefore, the main page immediately displays a greeting and brief information about the project: name and link. This page also contains cards with the main features:
- add your first product: course, marathon, webinar, private group
- add a quiz
- add the first client
- invite an assistant, curator
The content of the first two blocks changes when products and notifications about any actions in them appear on the platform.
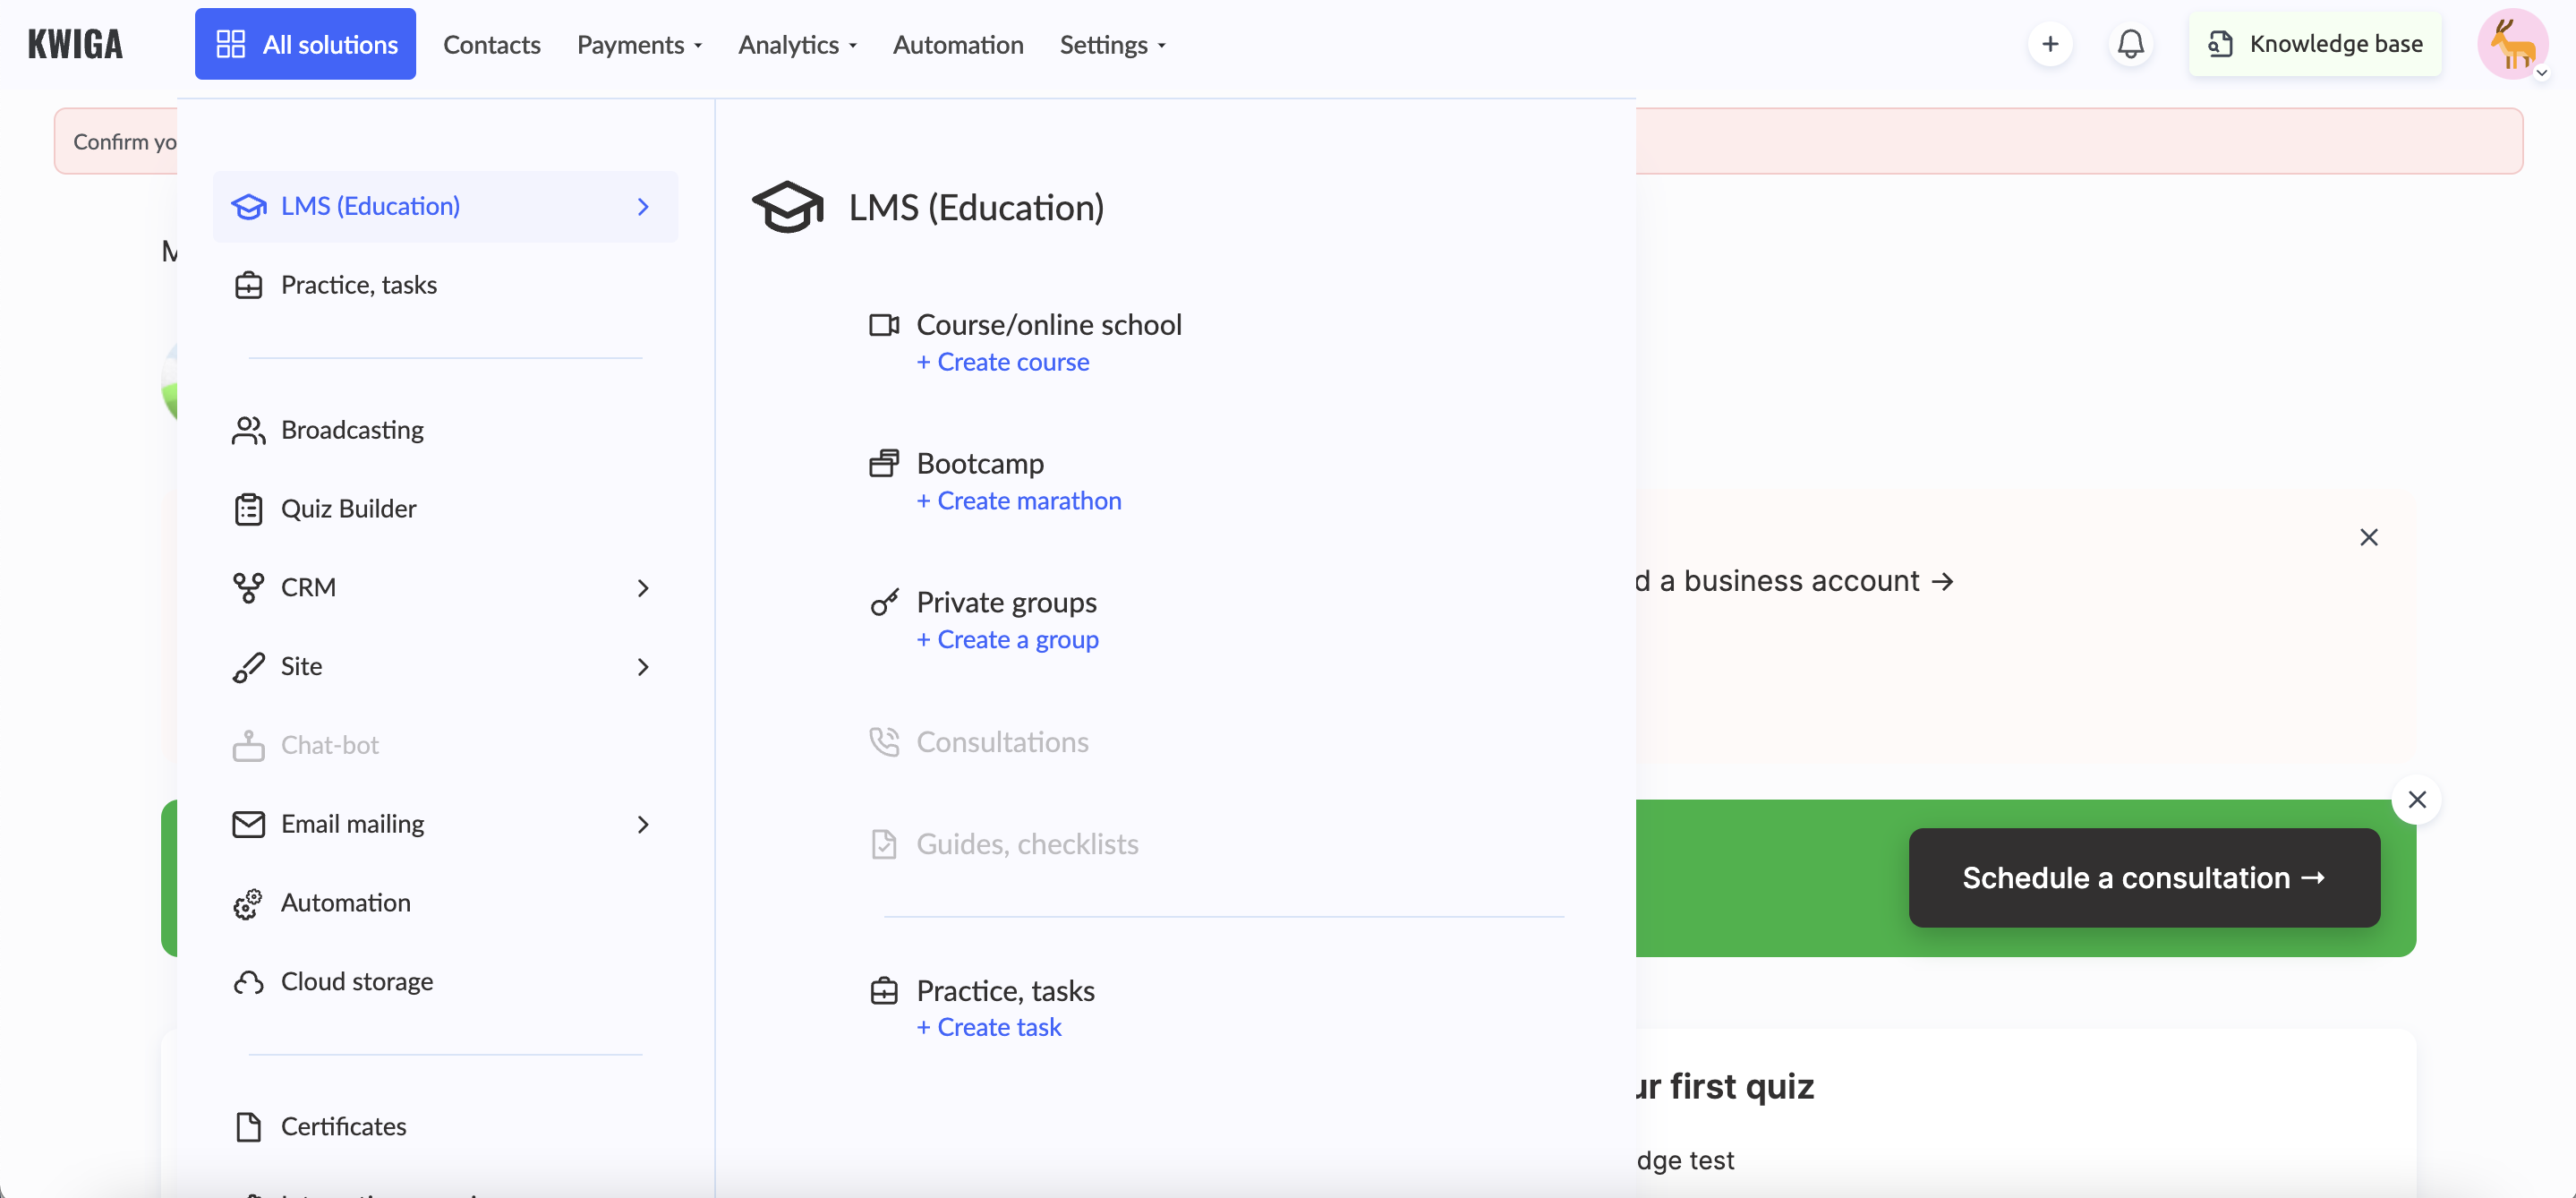
The entire Kwiga LMS consists of several sections.
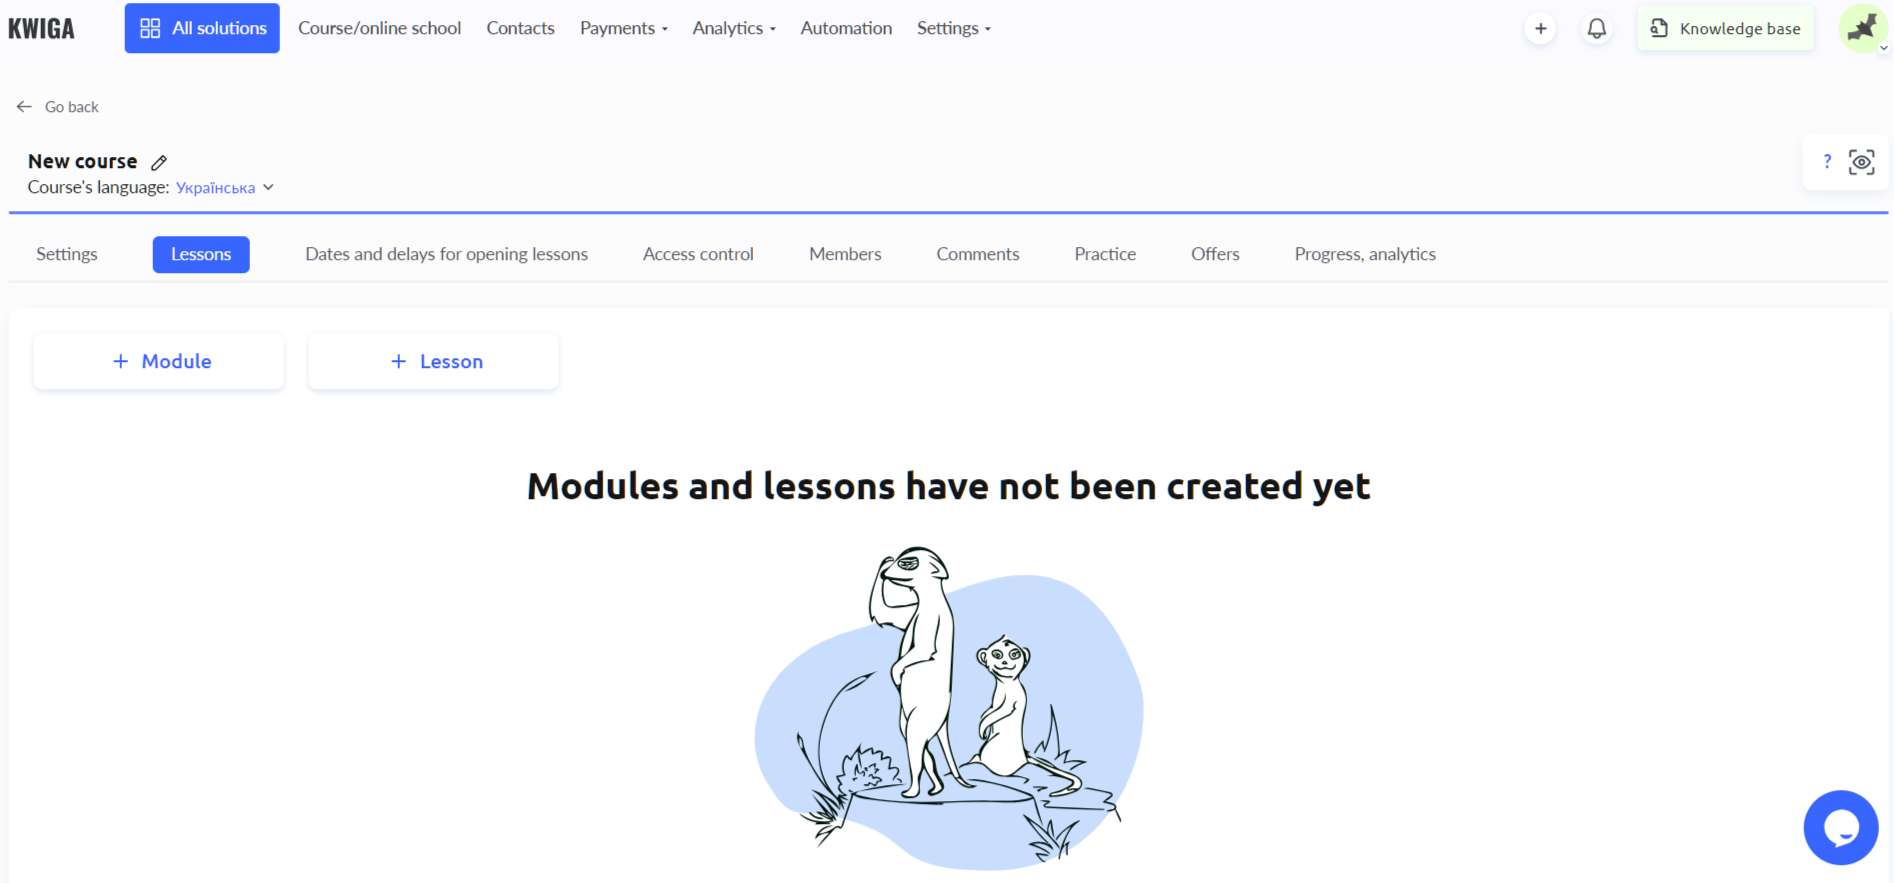
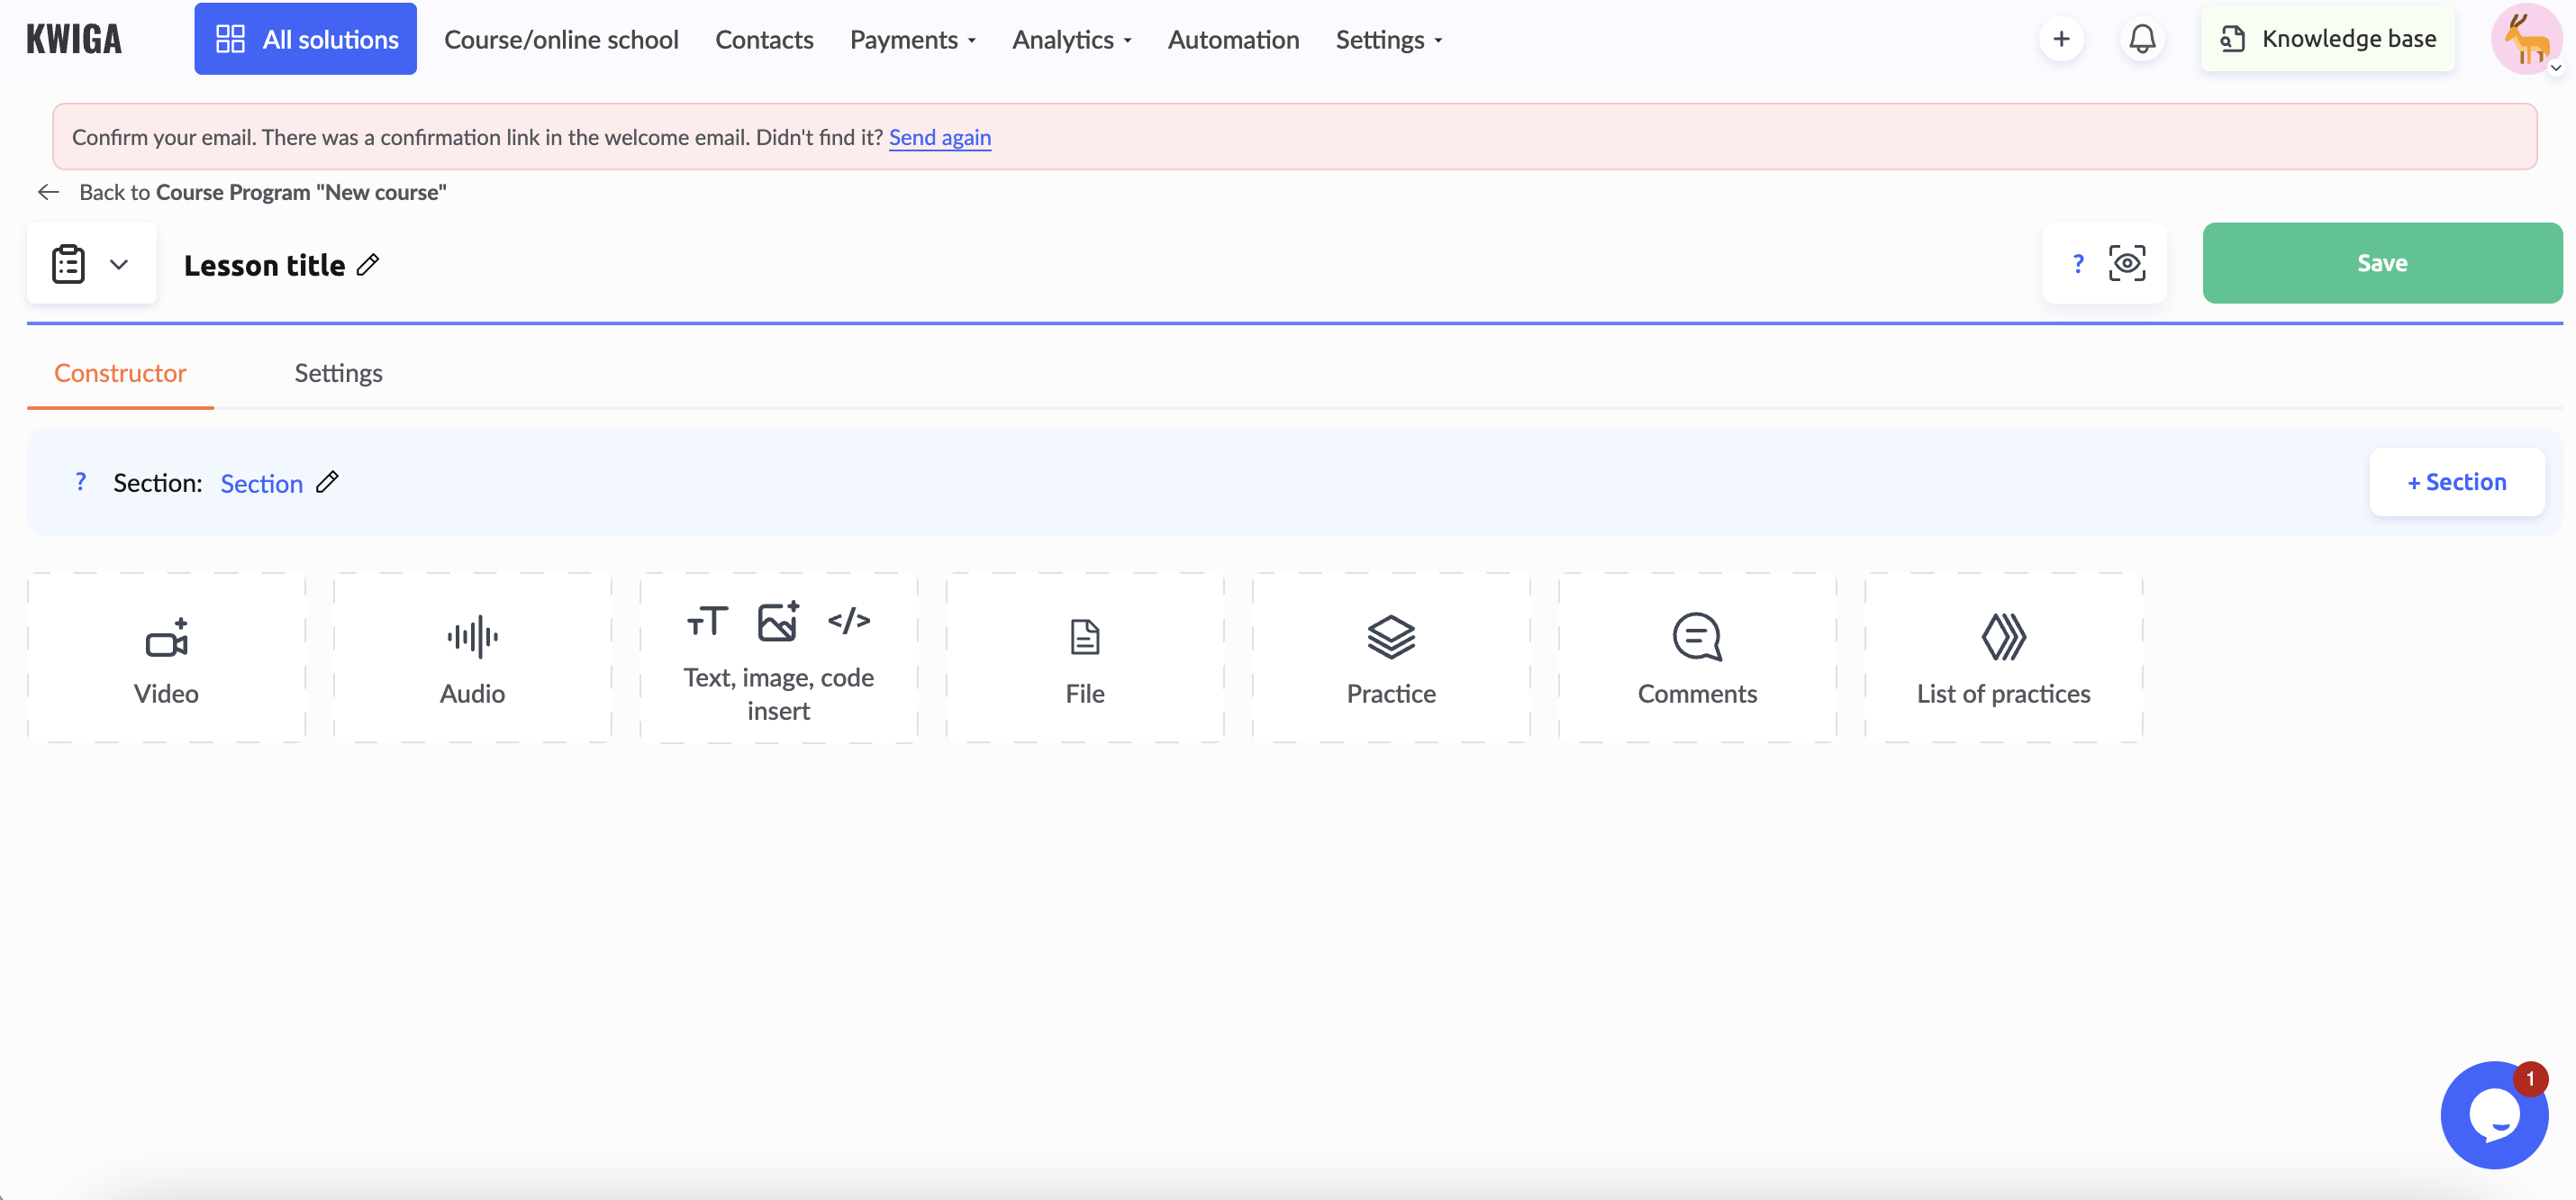
Course/online school. The section that opens the course builder with all the settings – from accesses to the general appearance and functioning of the course. In the course editor, you can create lessons and modules. The entrance to creating lessons is not overloaded with unnecessary transitions deep into the editor, but has a visible and understandable list of tools that can be added to the lesson: video, audio, text, code, file, practice, comments, list of practices. Blocks with training materials overlap each other, so the lesson preview button is very useful because it opens the development in the next tab and demonstrates the general view of the lesson.
Course access settings offer 2 levels: course-wide settings and open/close for lessons. But the course-wide access settings also have several levels – default and offer. An offer is a course that has already been turned into a product and requires specific settings for it – from status to payment page settings. That is, everything that should be in a separate section “Sales” requires settings right in the course.
The item “Management” in the settings also does not allow you to set the obvious – the course instructor. There is simply no such item. Instead, there are the following roles: public persona of the course (the one whose name is displayed on the course page, who acts as its owner or representative), management, curators.
Item “Participants” shows the database of students of the course, and the “Comments” item shows who wrote what and in which lesson on the topic or not. There’s also a section where you can find practical assignments for the course. There is also a section with offers that are valid for this course, although such information is required in the Sales section. An interesting item “Progress, Analytics” shows data on the activity of course participants and also allows you to download a report in the form of a PDF document.
A separate line is course settings: setting up the registration form and public pages. Both items are designed to create a course registration form and a presentation page with a description and required data. The finished course has a link to its own page with a description and functionality for accepting payments. Also, only after the course is created, the button to add a certificate that participants will receive after completing the entire course becomes available, although there was no such button in the designer itself.
With the same settings, you can create a webinar or a marathon, which differ in small specifications such as setting the days of the event (for a webinar) or the names of its parts (days instead of lessons for a marathon).
Контакти. A section that opens a page with lists under the following names: requests, tasks, orders, contacts, contact lists. It is unclear what requests and tasks are, since the items themselves are inactive, and the knowledge base does not answer this question. The Orders item contains data on orders from the funnel and their status. The “Contacts” item opens data on contacts that belong to the school. And the “Contact lists” item contains lists of contacts in the form of groups with specific names.
Sales. This section has subsections:
- offers
- coupons
- promotion
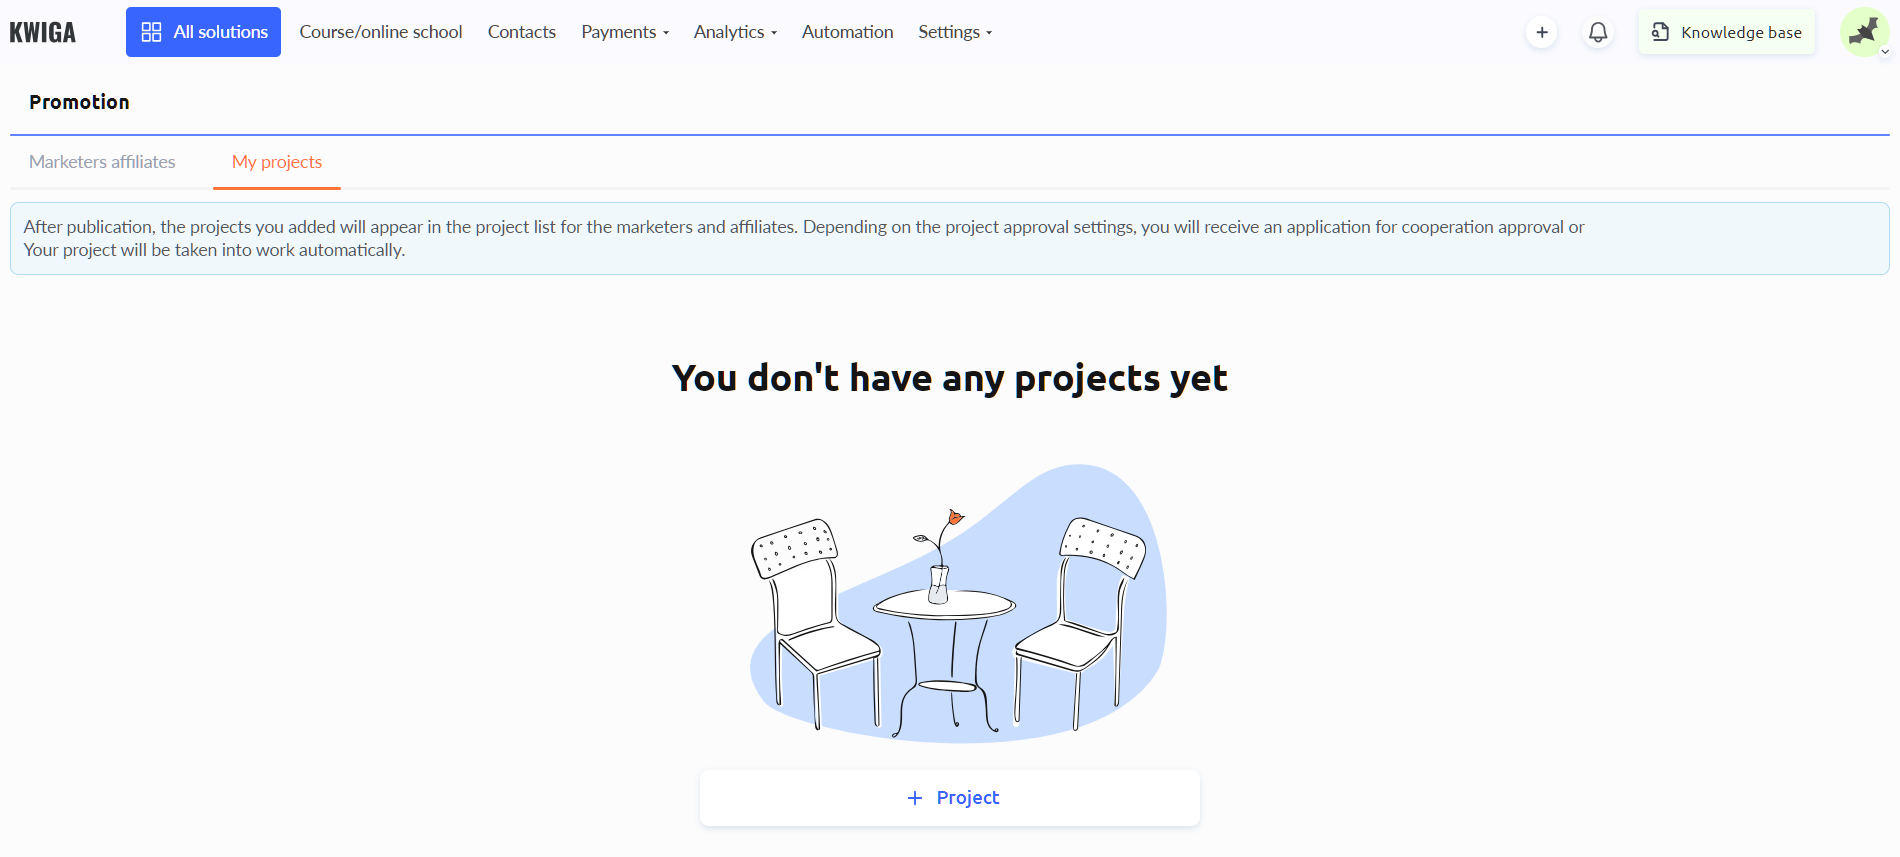
Offers contains product cards with data on their content, expiration date, price, and number of sales. The Coupons subsection opens a list of data on who, when, how, and how many times applied a promo code, to which product, and what discount they received. The Promotions subsection has two items: “Marketers Affiliates, which contains a list of marketers who can be offered to take on the development of the project, and My Projects, where you can add your projects. They will appear in the catalog and marketers will be able to send applications to work with them. What these projects are becomes clear only if you look at the project editor – there are three options: a project outside of Kwiga, a website, and a product.
Analytics. The section consists of three subsections:
- Summary
- Reports
- Transactions
The first two subsections are inactive and cannot be opened on the trial plan, and the knowledge base does not contain information on how to work with analytics. The Transactions subsection contains data on all transactions that take place on the platform and can be filtered by a number of criteria, from the date of the transaction to the type of product and payment method.
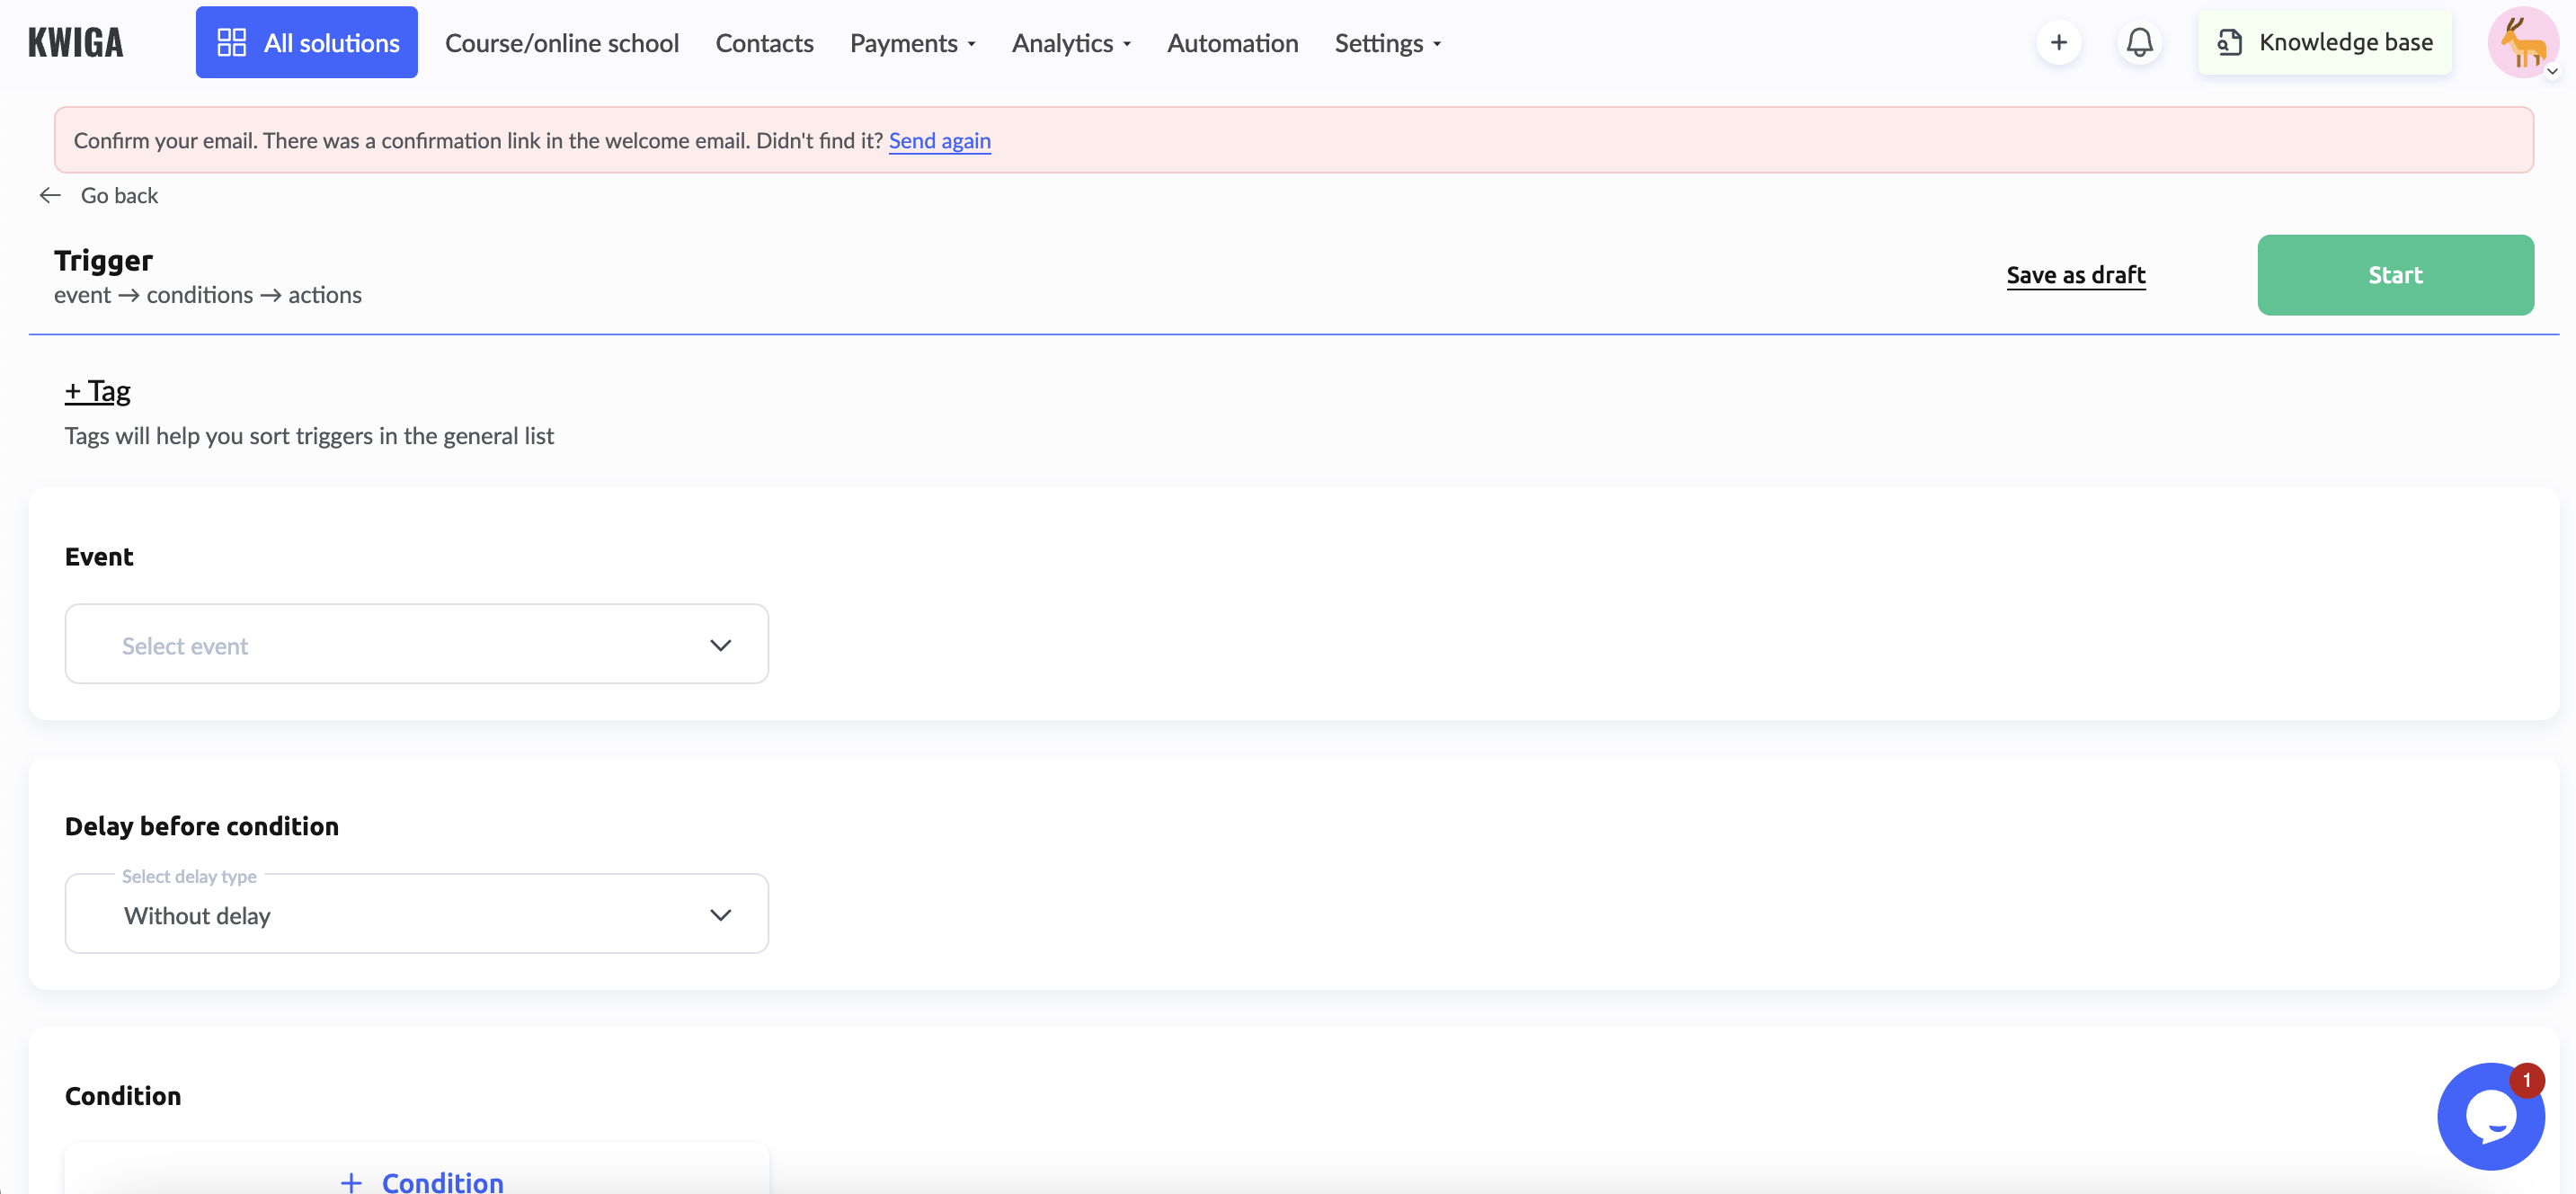
Автоматизації. The section where you can set up triggers for the event – conditions – actions chain, as well as scenarios. Triggers can be set up for any event – from adding a contact to awarding points for a completed action.
Scenarios, as the tip on the page says, are complex triggers that can be created and customized in a graphical editor. You can only guess what they look like and how they work, because even the subsection is not available for viewing on the trial plan.
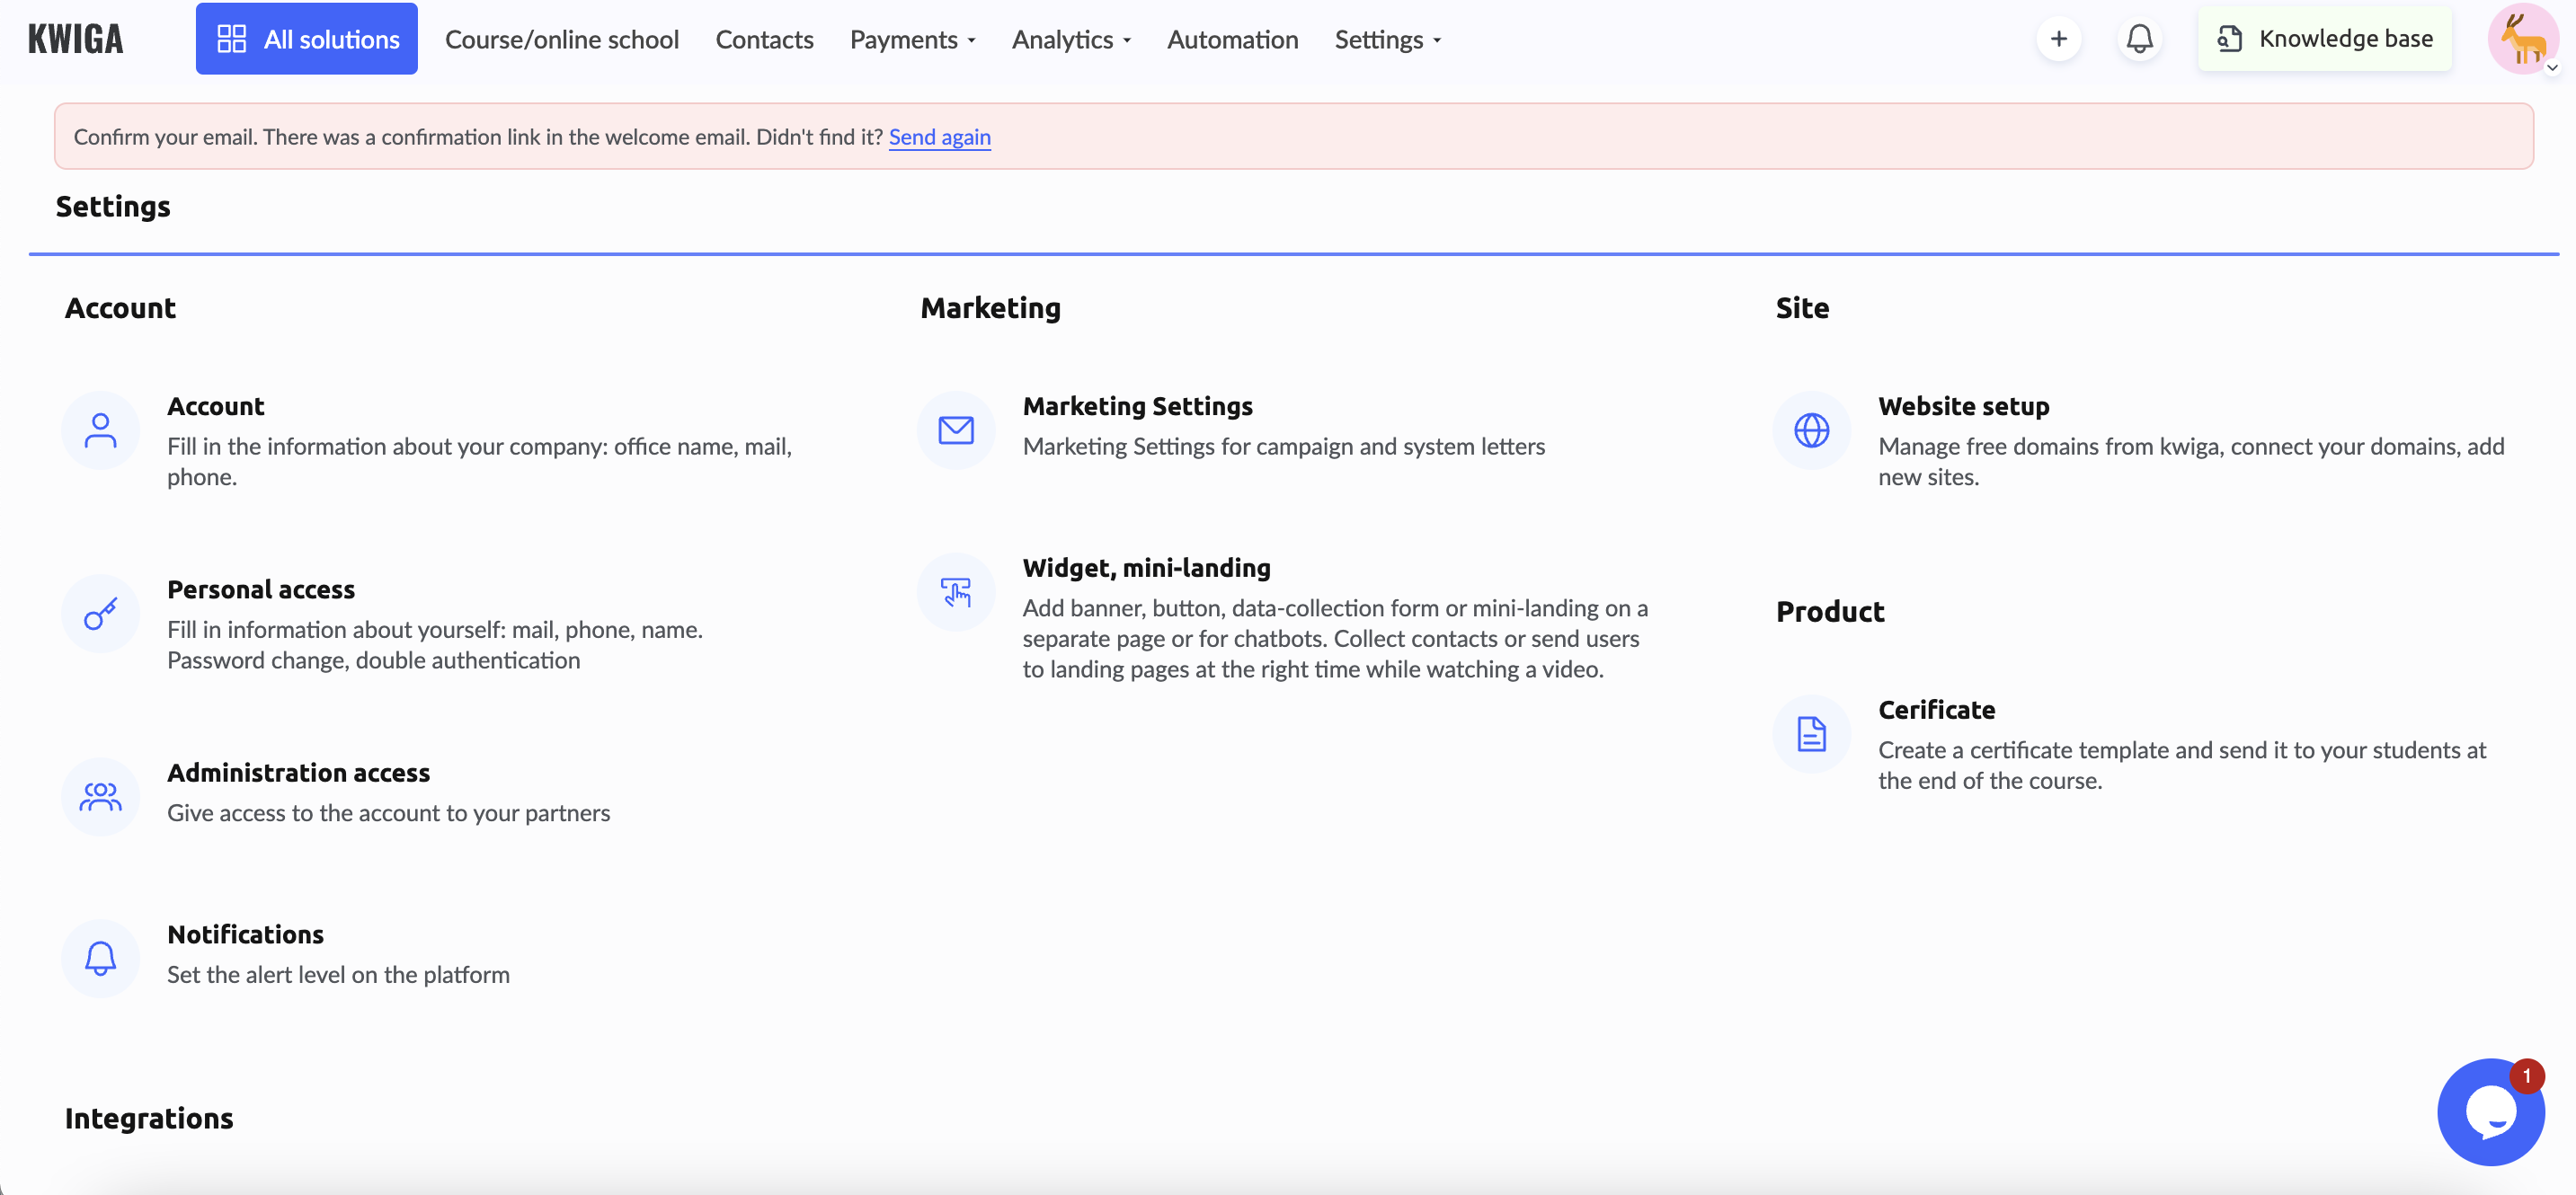
Settings. A navigator section that consists of several subsections. For example, the Office subsection opens the project settings and access page, along with the domain.

Here you can also see other subsections in which you can switch. “Personal account” shows the components of the tariff that are connected to the account – only here it becomes clear what you can use to launch and maintain the LMS, because the main heading called “All solutions” does not make it clear what tools are available for work. There is also data on expenses and payments here.
Subsection “Personal access” opens a card with the account holder’s personal information and a card with account access settings.
Subsection “Access to management” allows you to customize access for team members and school students.
For some reason, in «Marketing settings» there are only fields for registration of mailings and messengers and setting the sender’s address.
«Widget, minilanding» is set out separately, although it could be part of the previous subsection.
In the unit «Notifications» you can set up notifications about any actions with courses or school products via two channels – messenger and email.
Subsection «Certificates» – a regular folder with the online school’s certificate files. The “Connect domains” subsection duplicates the same setting that is available in the “Dashboard”. The Integrations section opens a list of services that can be integrated into the online school – from payment systems to telephony and applications. Only four of the eleven categories of integrations are available for free. Others are not even available for viewing and the logic behind this decision is unclear.
Subsection «API» allows you to make the necessary settings for connection, has documentation with instructions.
Advantages Kwiga
One of the few advantages of the Kwiga LMS is the course presentation page, which can be created during the course development process. In fact, it is a product page where everyone can register and purchase training on the course. Another advantage is that there are three types of training sessions available. You can create a course, a marathon, and a webinar on the platform with the appropriate settings for work.
Disadvantages Kwiga
The chaos in the platform’s categorization and the incomprehensible division into dashboards and project settings pages suggests that not everything declared under the general heading “All Features” is available for work within one school. For some reason, CRM, email services, and integrations are placed in a completely separate section. Many units are duplicated in several places at the same time. Many divisions, services, or settings are not even open for viewing on the free plan, so it is difficult to find out what they are for.
The multi-level interface makes navigation difficult, the search bar in the Knowledge Base does not work well, and the instructions are mixed with articles on topics. The test builder, which is so clearly described on the website, is hidden in the depths of the platform.
All this suggests that it is not for nothing that the site is so densely scattered with buttons for ordering a consultation, and in one of the sections you can invite specialists to work on the project.
Kwiga cost of use
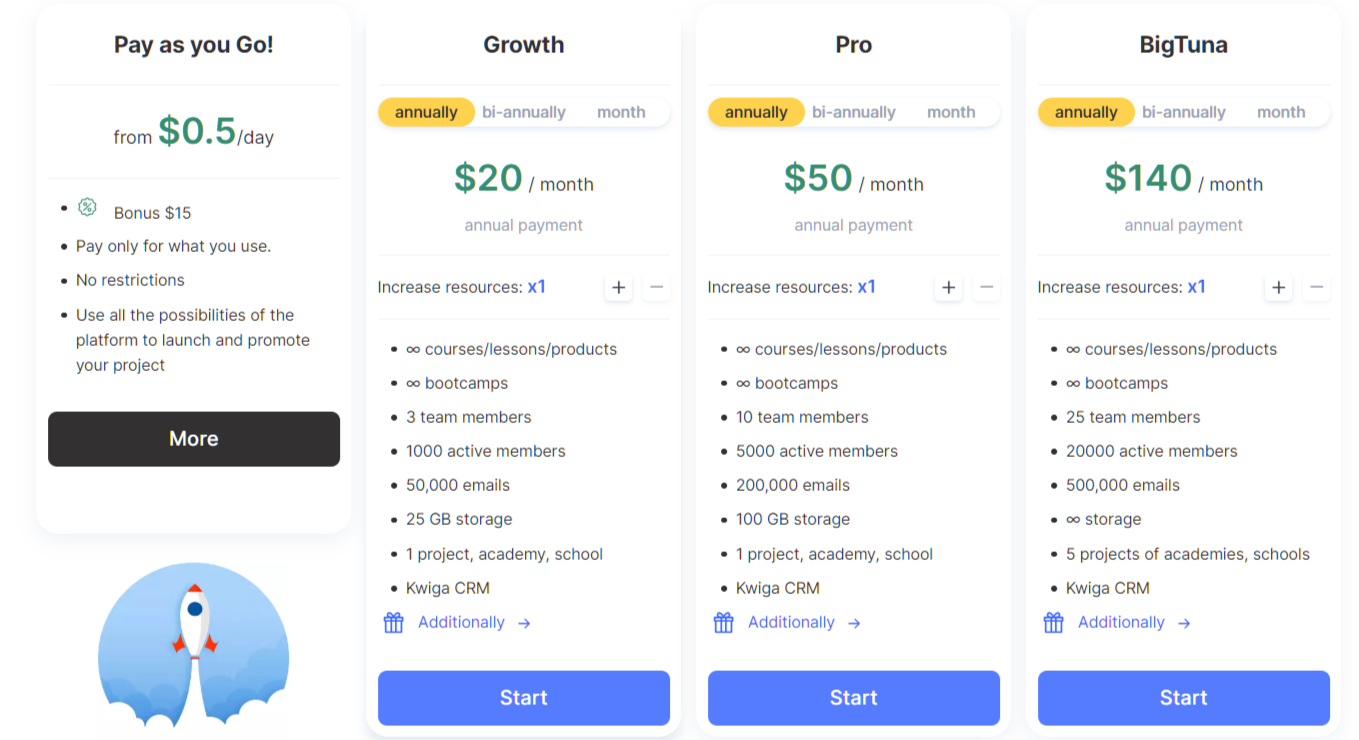
There are four tariff packages in Kwiga LMS:
- Pay as you Go!
- Growth
- Pro
- BigTuna
Three of them can be paid monthly, semi-annually, or annually. Accordingly, the annual payment will be the cheapest. And there is also an interesting tariff “Pay as you Go!” with daily payment only for what you use.
The Growth tariff package costs $40 per month and includes:
- the ability to increase resources by x2 or more. Each subsequent step to increase the cost of the tariff package increases accordingly.
- ∞ courses/lessons/products
- ∞ marathons
- 3 team members
- 1000 active participants
- 50,000 letters
- 25 GB storage
- 1 project, academy, school
- Kwiga CRM
- 24/7 Care service
- Free setup and transfer of materials
- 10 domains on Kwiga
- 1 connected domain
- 0% transaction fee
- ∞ marketing newsletters
- 9 types of tests, surveys and assignments
- Receiving payments from students
- Automatic access opening
- Integrations, API
- Setting delays, opening by date
- Stop lessons
- Dividing students into groups and assigning a tutor
- Curators’ feedback
- Student’s personal account
- Closed communities and groups on Telegram
- Partial access to courses and marathons
- Subscriptions, partial payments, payment schedules
- Pre-registration, waiting list
The Pro package costs $100 per month and includes:
- the ability to increase resources by x2 or more
- 10 team members
- 5000 active participants
- 200,000 emails
- 100 GB storage
- 1 project, academy, school
- Kwiga CRM
+ all that is included in the previous tariff package.
The BigTuna package costs $280 per month and includes:
- 25 team members
- 20000 active participants
- 500,000 emails
- ∞ storage
- 5 projects, academies and schools
- Kwiga CRM
+ all that is included in the previous tariff package.
Reviews of Kwiga
We do not take into account the three customer reviews on the Kwiga website. They are, of course, positive. Only one candidate and one employee spoke about the company as an employer on the DOU website. And search engines have given us the following findings: Kwiga LMS is popular on forums for seafarers. There are also about five reviews on the company’s Instagram profile, most of which are short.
Since the company’s website states that Kwiga LMS appeared only in the summer of 2022, such a small number of reviews may be due to the fact that it is new to the market and has not yet gained enough customers. Or it does not pay attention to this aspect of its activity.
It can be concluded that Kwiga LMS tried to become a familiar analog of the well-known Russian platform for users who were looking for a replacement among Ukrainian companies. It has almost succeeded. The same multi-level sections, maze of settings, and lack of an intuitive interface make you spend extra time searching for and thinking about the settings. It is suitable for owners of online schools and experts who have been working in the field of online education for a long time and are ready to endure difficulties. Those who are just planning to start their own school or launch a course should find a more convenient LMS that does not try to be all in one.